
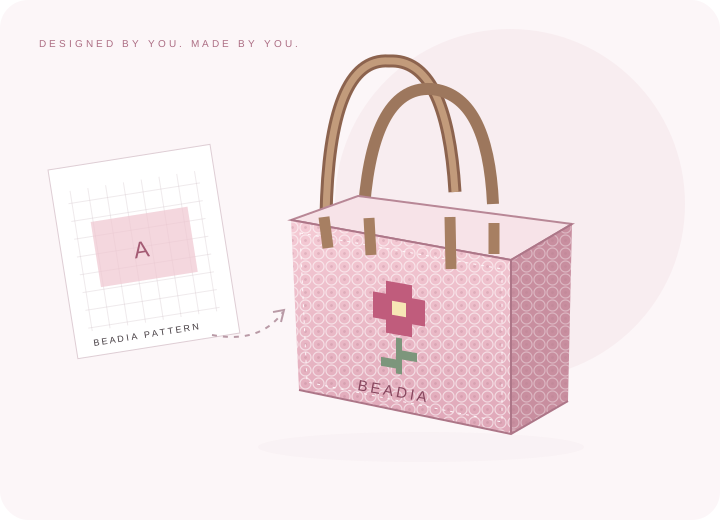
Start with your Beadia pattern.
This guide starts with a bag pattern you have already made in Beadia Bag Studio. Save your final design and download its unfolded PDF before placing any beads.
- Check the model number and all pages of the pattern.
- Read the panel labels, color key and bead counts. Keep the original outlines and openings.
- One occupied square means one bead. Empty cells, slots and cutouts stay empty.
- Check the outside orientation. Keep lettering upright and compare opposite faces in the 3D preview.
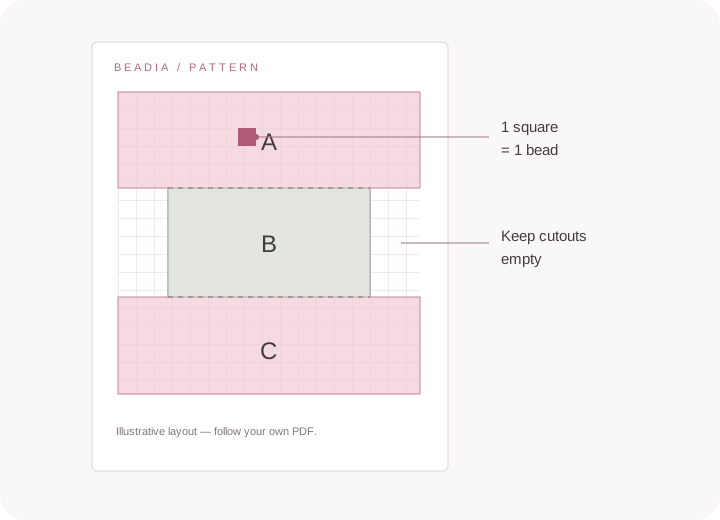
A paint area can span several faces. The PDF restores the original net sections, so use the exported layout for construction. Do not cut a panel simply because it was a separate drawing area in the editor.
Set up your making space.
Use a flat, stable surface and sort beads by the color codes in your PDF. Keep the same bead size and compatible bead type throughout the project.
For a large pattern, connect enough compatible pegboards to fit the complete piece. The printed chart is a counting reference unless it includes a verified placement scale; count cells rather than stretching the design to fit a page.
Check your kit's contents before starting. The iron is a separate tool. Ironing must be handled by an adult; keep small parts and sharp tools away from young children.
Build the artwork, bead by bead.
- Identify the top edge of the panel and place the outline first, keeping every cutout clear.
- Fill one small section or color at a time. Use the printed grid coordinates to keep your place.
- Recount the outside edge, joining rows and any handle or closure openings.
- Compare the finished bead arrangement with the PDF before fusing. Correct missing beads and misplaced colors now.
If you place a transparent board over a printed chart, first check that the printed grid matches the peg spacing. For words and directional artwork, decide which side will face outward after fusing; do not mirror every panel automatically.
Fuse gently. Cool completely.
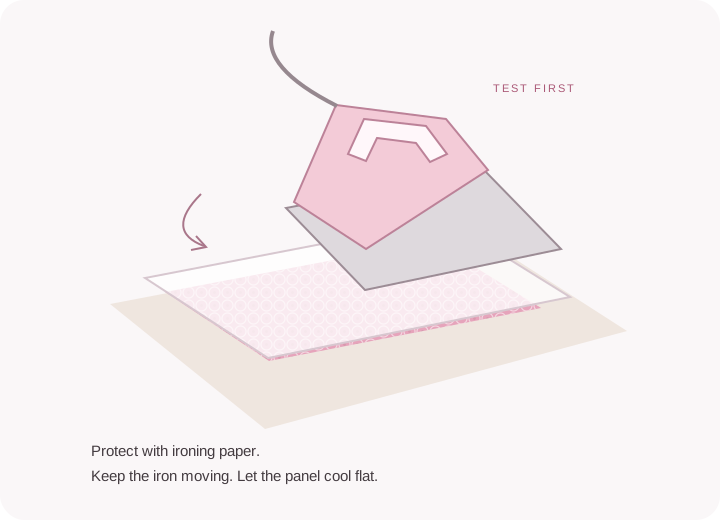
Make a small test piece with the same beads before heating a full bag panel. Follow the heat settings and method supplied by your bead manufacturer; there is no single time or temperature for every bead and iron.
- Cover the beads with suitable ironing paper. Use a dry iron with steam switched off.
- Move the iron smoothly over the paper and check the bond regularly. Keep the iron away from exposed pegboard pegs.
- Fuse enough to connect neighboring beads while preserving the holes needed for joining. Avoid flattening the edge rows closed.
- Allow the piece to cool enough to handle safely, then remove it as directed by your bead manufacturer. Cool fully on a flat surface with suitable flat support.
Follow the model's instructions for any continuous folds. Do not force a stiff, cold panel into a sharp crease or assume that every dashed line should be cut. Test the required flexibility on a spare piece first.
Lay out the bag before joining.
Place all finished pieces beside the final PDF. Add removable paper labels to their inside faces, then match the edges, top openings and hardware positions.
Dry-fit the shape with temporary loose ties. Check that the artwork faces outward and paired edges line up without stretching. The sequence below is general; use your model checklist to identify its base, side seams and closure.
The illustrations on this page explain the process. Your selected model and downloaded pattern determine the actual joining edges, openings and hardware.
Connect the panels with care.
- Use joining cord and a needle that pass easily through the bead holes. Follow the stitch method specified for your model.
- Start at a matched corner. Pass through corresponding open edge holes with even spacing, keeping the outside faces correctly oriented.
- Work a few stitches at a time and check the shape. Keep the tension snug enough to hold the edge together without bending or crushing the beads.
- For separate panels, join the base and body in the order shown in your model guide, then close the remaining side seams. For continuous nets, preserve the intended folds and join only the specified edges.
- Secure the cord ends on the inside using a suitable knot for that cord. Trim only after checking the seam.
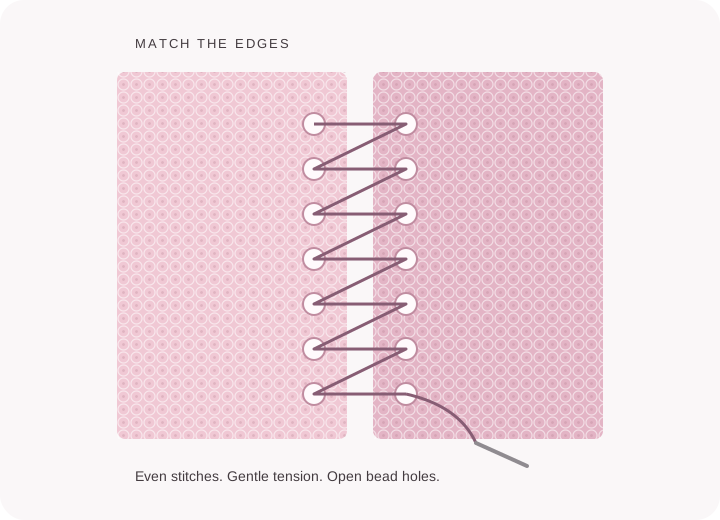
If an edge does not match, stop and compare the panel count and orientation with the PDF. Do not stretch one panel or make extra holes to compensate.
Add the finishing details.
Fit the handles, straps, zipper or closure supplied for your selected model. Lay out all hardware first and check the assembly guide before permanently fastening anything.
- Handles and straps: use the planned mounting holes, tabs and fixing parts. Check that paired attachments sit at the same height.
- Zippers: align the opening and any fabric support before stitching. Keep the teeth and slider free of cord.
- Rivets, rings and clasps: use the matching backing and fixing tools. Close all connections fully without squeezing or cracking the bead panel.
Try the opening and closure several times before the final tightening. If a fixing does not match the planned hole or mounting area, check the model and hardware rather than drilling an improvised opening.
Give every detail a final check.
Begin with a light, non-fragile item and gently check the finished shape and attachments. A handmade fuse bead bag is a decorative craft item: avoid heavy loads, prolonged heat and rough handling. Stop using it if a panel or attachment becomes damaged.
Wipe gently with a soft, slightly damp cloth and let it dry. Store away from heat and direct sun; do not machine wash or iron the assembled bag.
A little help along the way.
My panel is curved after fusing. What should I do?
Let panels cool with flat support as recommended by the bead manufacturer. Test your fusing and cooling method on a spare piece before making the next panel. Do not force a badly warped piece into a seam.
The bead holes have closed. Can I still assemble it?
Joining holes need to remain open. Do not force a sharp tool through a fused panel while holding it in your hand. Check whether the panel needs remaking and use less heat or pressure on a test piece.
Why do the editor's paint areas differ from the PDF pieces?
Some paint areas wrap around more than one side. Beadia maps your artwork back to the original unfolded layout when exporting. Follow the PDF outlines and your model's assembly guide.
Does every bag use the same parts and stitching?
No. Check the selected model's parts list and assembly notes. Curved bodies, folded nets, zippers and handle mounts require different construction details.
YOUR NEXT LITTLE CREATION
A pattern becomes something yours.
Choose a bag, add your artwork, and keep this guide nearby when you make it.
Fusing references
General fusing guidance: Hama instructions and Perler fusing FAQ. Always follow the instructions for the beads you actually use.